





How to Measure Square Footage On a Plan: The Formula, the Scale, and the Mistakes to Avoid
Square footage is the total floor area of a space, measured in square feet, and it's the number every bid, appraisal, and material order eventually comes back to.
But the harsh truth is: ask five people to calculate the square footage of the same floor plan, and you'll sometimes get five different answers. Not because anyone did the math wrong — the formula is dead simple, length times width — but because they measured from different reference lines, misread the scale, or eyeballed an L-shaped room instead of breaking it down properly.
If you've ever pulled out a ruler, squinted at the scale notes, and tried to back-calculate a room's real-world dimensions, you know how easy it is to get a number that looks right and is off by 15%.
That's the gap this guide closes: the actual formula, how to read the scale correctly, and the works.
What is square footage?
Before you measure anything, you need to know which square footage you're calculating — because "square footage" isn't one number.
Gross square footage calculates the total enclosed area of a structure, walls included. Conditioned or livable space excludes garages, unfinished basements, and porches — anything not heated or cooled. And when you're working from a floor plan or blueprint, the measurement convention matters just as much as the room dimensions themselves.
None of these are wrong. They're built for different purposes — the mistake is using one convention's number where another one's is expected, which is exactly how a framing estimate and an appraisal report end up disagreeing on the same house.
What do you need to start square footage calculations
- A printed or to-scale digital copy of the plan (a photo taken at an angle won't measure accurately)
- An architect's scale for residential drawings, or an engineer's scale for civil/site plans
- A calculator
- A notepad, or the plan itself, to record section-by-section areas as you go
Step-by-step: How to calculate area from a floor plan
This is the core process, and it holds whether you're measuring a single bedroom or an entire commercial floor plate.
Step 1: Find and calibrate the scale
Locate the scale note on the drawing — typically printed near the title block, something like ¼" = 1'-0". Before you trust it, calibrate it against one known dimension on the plan. If your architect's scale measurement doesn't match the printed dimension, the plan was likely scanned, resized, or printed at the wrong percentage — and every measurement off it will be wrong by the same ratio.
Step 2: Divide the shapes
Very few rooms in your plans will be perfect rectangles.
Break L-shaped rooms, bump-outs, and irregular layouts into separate, smaller rectangles you can measure independently. Next, draw the dividing lines directly on the plan so you don't double-count or skip a section later.
Step 3: Measure the plan
Here's the actual conversion: if the scale is ¼" = 1'-0", every ¼ inch on paper equals 1 real-world foot. So divide the paper measurement (in inches) by the scale factor of 0.25 to get the true length.
For example, if a wall measures 3 inches on paper, that's 3 ÷ 0.25 = 12 feet in reality. Do this for both the length and width of each section before multiplying.
Step 4: Multiply and add
For each section, multiply length by width to get its area. Add every section together for the total. If you measured in inches and converted per section, double-check that every conversion used the same scale.
How to calculate square footage for irregular and non-rectangular spaces
For a triangle area, use ½ × base × height. Measure the base and the perpendicular height, not the slanted side, and add the result to your running total.
For curved or angled walls, approximate by breaking the curve into several small trapezoids or triangles that follow the wall's path closely enough — perfect precision isn't achievable by hand, and it's usually not necessary either. One caveat the plan area alone won't tell you: on sloped surfaces the installed area is larger than the footprint — here's how pitch and slope can turn a flat square-foot estimate into a loss.
Worked example: A bedroom measures 12' × 14' (168 sq ft). A triangular reading nook off one corner has a 6' base and 4' height (½ × 6 × 4 = 12 sq ft). Total for that room: 180 sq ft.
Risks and limitations of manual square footage calculation
Manual calculation is transparent and requires no software; every number's derivation is visible, which matters when a client or appraiser wants to see the math.
But it doesn't scale, has no built-in check against a printed dimension, and any plan revision means re-measuring by hand from scratch. On complex or large commercial sets, the time cost typically outweighs the transparency benefit.
Why manual measurement doesn't hold up for calculating square footage for peak volumes
The four-step process above is accurate only for a specific scenario: one room, done very carefully, by someone who isn't racing a bid deadline.
The manual measurement method is less than sufficient because of the following reasons:
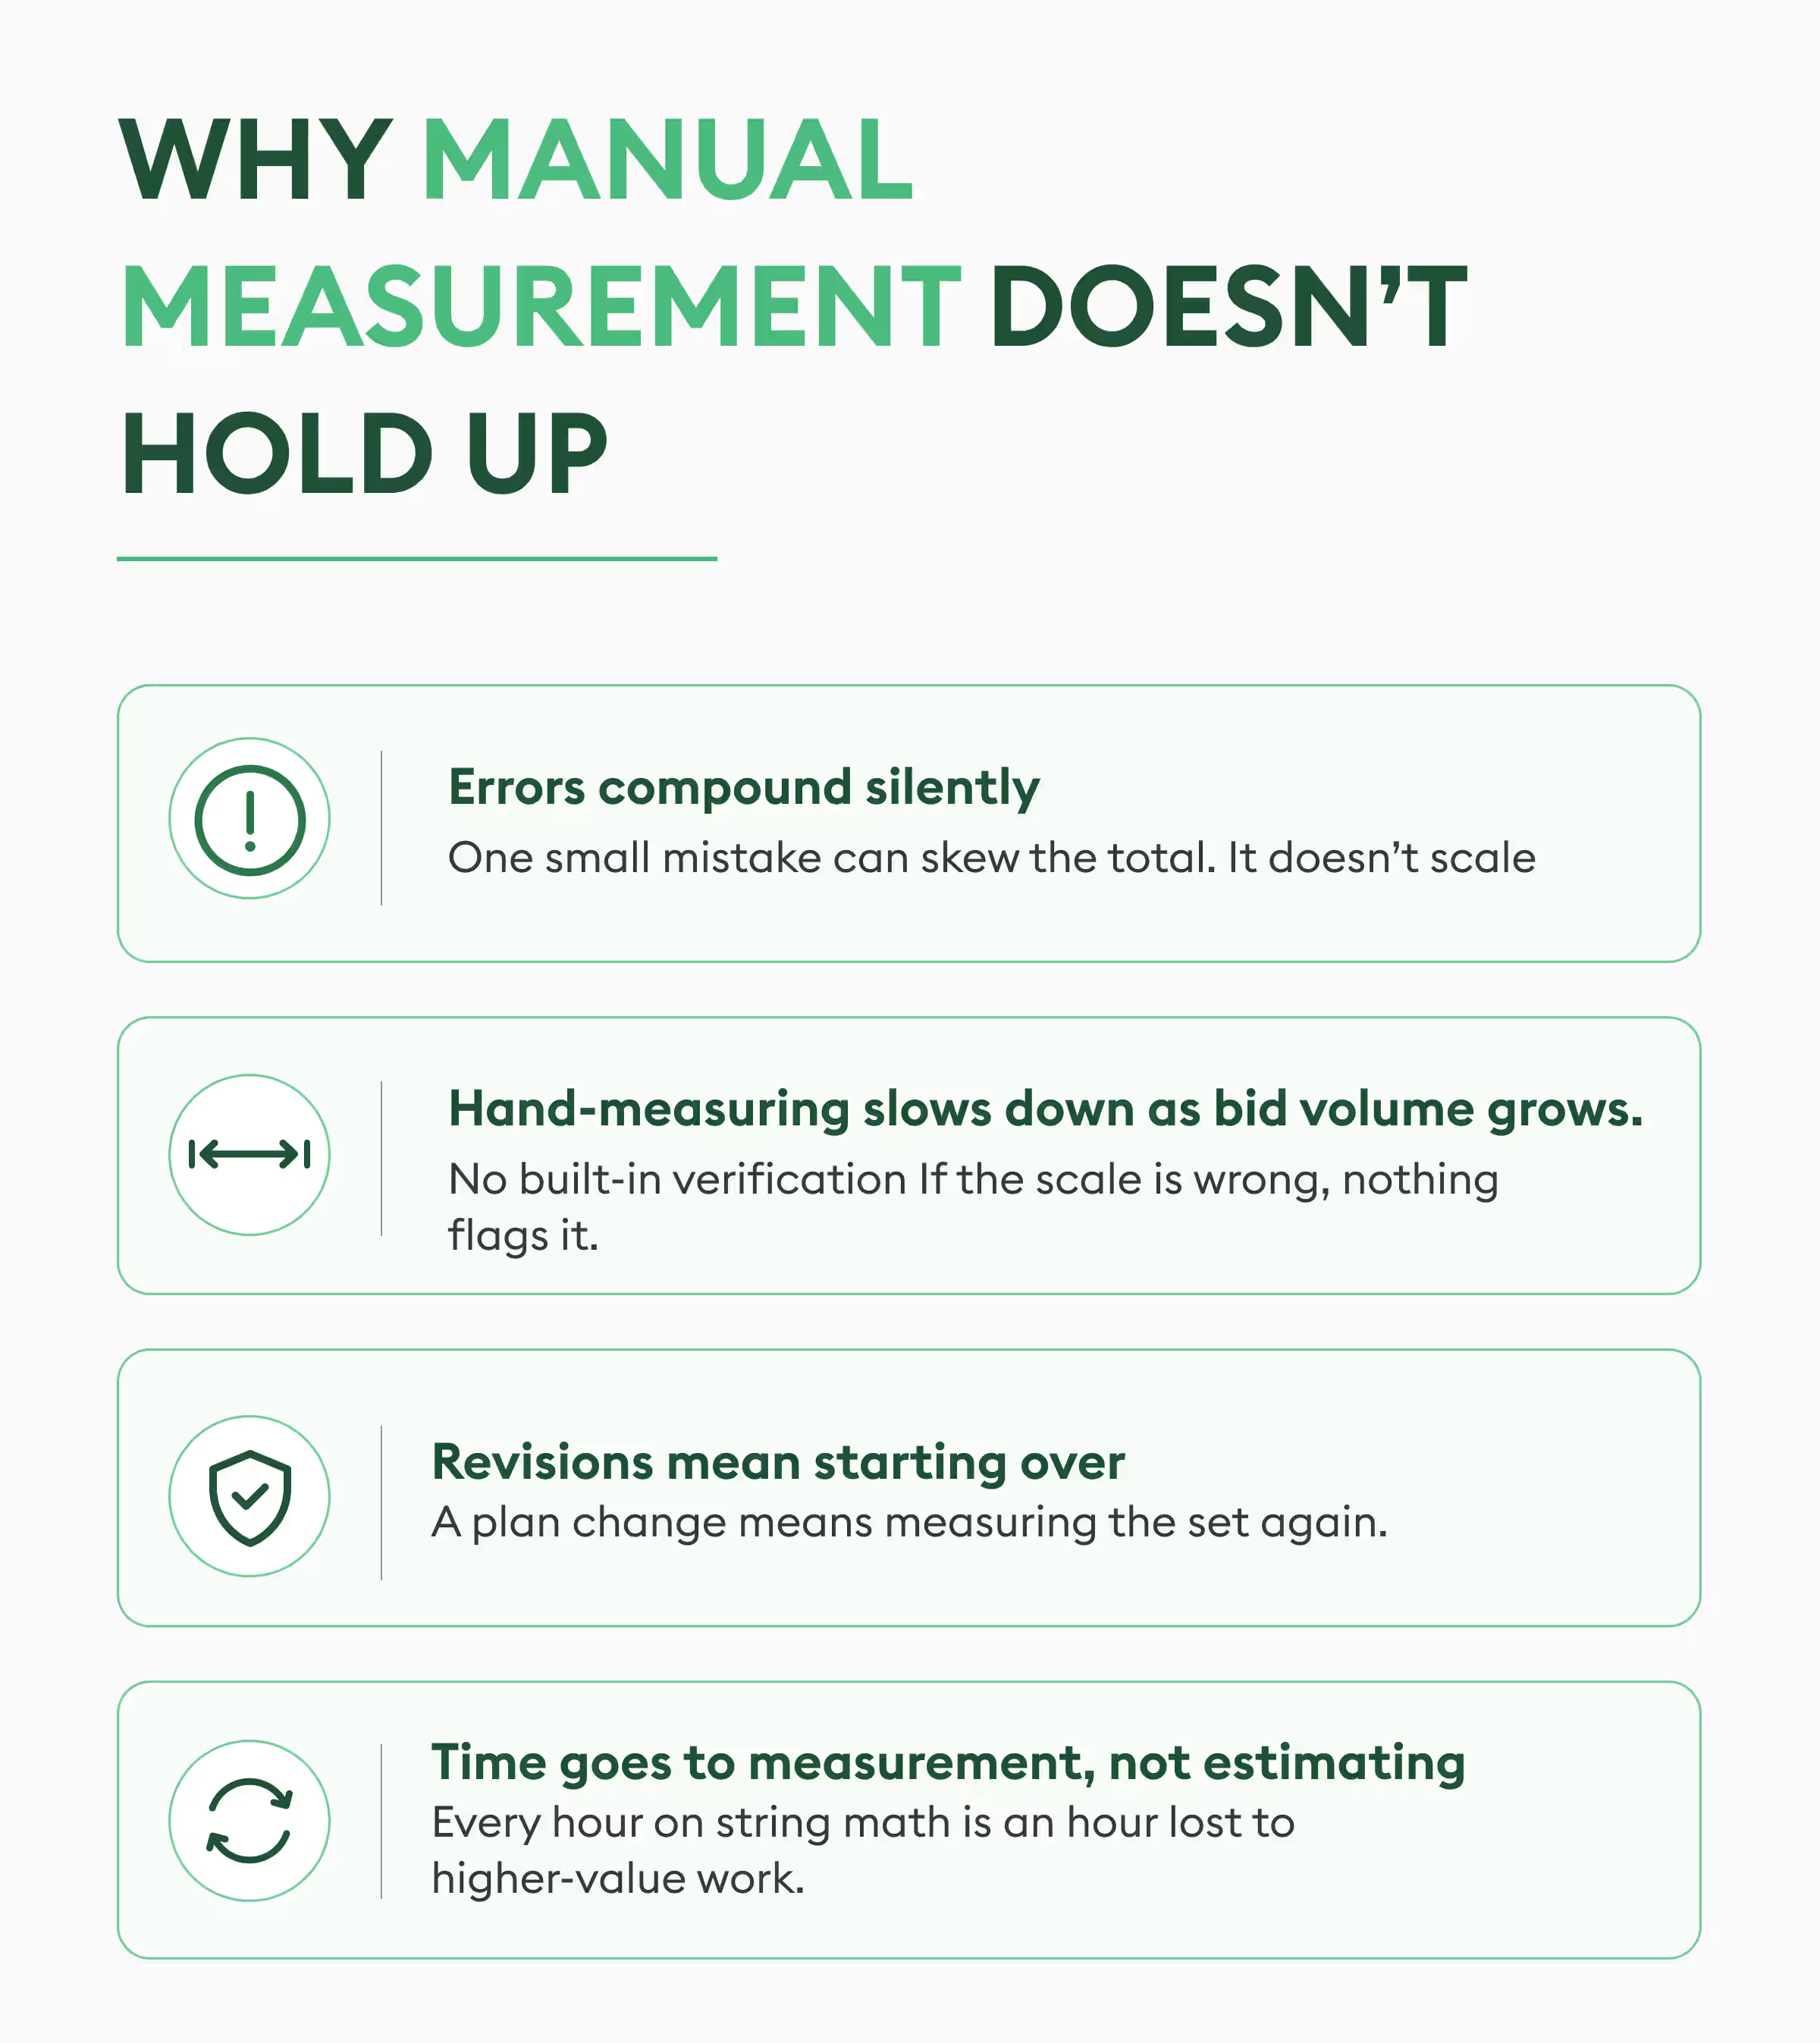
Errors compound fast
A missed unit conversion or a scale misread on page 4 of a 40-page plan set doesn't announce itself. It just quietly shifts the total, and nobody catches it until the estimate is already submitted or the material order is short.
It doesn't scale with bid volume
One estimator can accurately hand-measure a handful of rooms in an afternoon. They cannot hand-measure a full commercial set across multiple trades on every bid that comes in—not without slowing bid output or cutting corners on accuracy.
There's no built-in verification
Manual measurement has no automatic check against the plan's printed dimensions. If the scale calibration was off from the start, every downstream number inherits that error with nothing to flag it
Revisions mean starting over
A plan revision means everything needs to be re-done. It means re-walking the scale ruler across the whole set again, by hand, on top of whatever else is on the estimator's desk that day. All that effort and time essentially goes to waste. And that's only if you catch the change at all — here's why drawing revisions slip past even when clouds and bulletins are meant to flag them.
Time spent measuring is time not available for estimating
Every hour an estimator spends on string math is an hour not spent on pricing strategy, scope review, or the parts of a bid that actually require human judgment.
This is the exact gap that pushes teams from manual takeoff to automated tools.
Measuring measurements manually simply doesn't hold up when accuracy has to survive volume, deadlines, and revisions at the same time. What are they pivoting to, you ask? AI-based automated takeoff and estimating.
Case in point, Carolina Site Utilities were spending one to two weeks per takeoff using PlanSwift, with frequent plan revisions and multiple addenda adding to the workload. The manual process slowed turnaround time, caused rework, and led to missed bid opportunities, the exact failure mode described above.
This limited both their revenue and profits, and they switched to Beam AI. The result was 1-2 weeks saved/ takeoff, 2X bid potential, and 50% increased potential revenue.
How Beam AI measures quantities, runs takeoffs, and supports estimates
Beam AI automates the process described above: scale calibration, shape division, measurement, and calculation. All you need to do is upload the plans, and the AI processes the calculations directly.
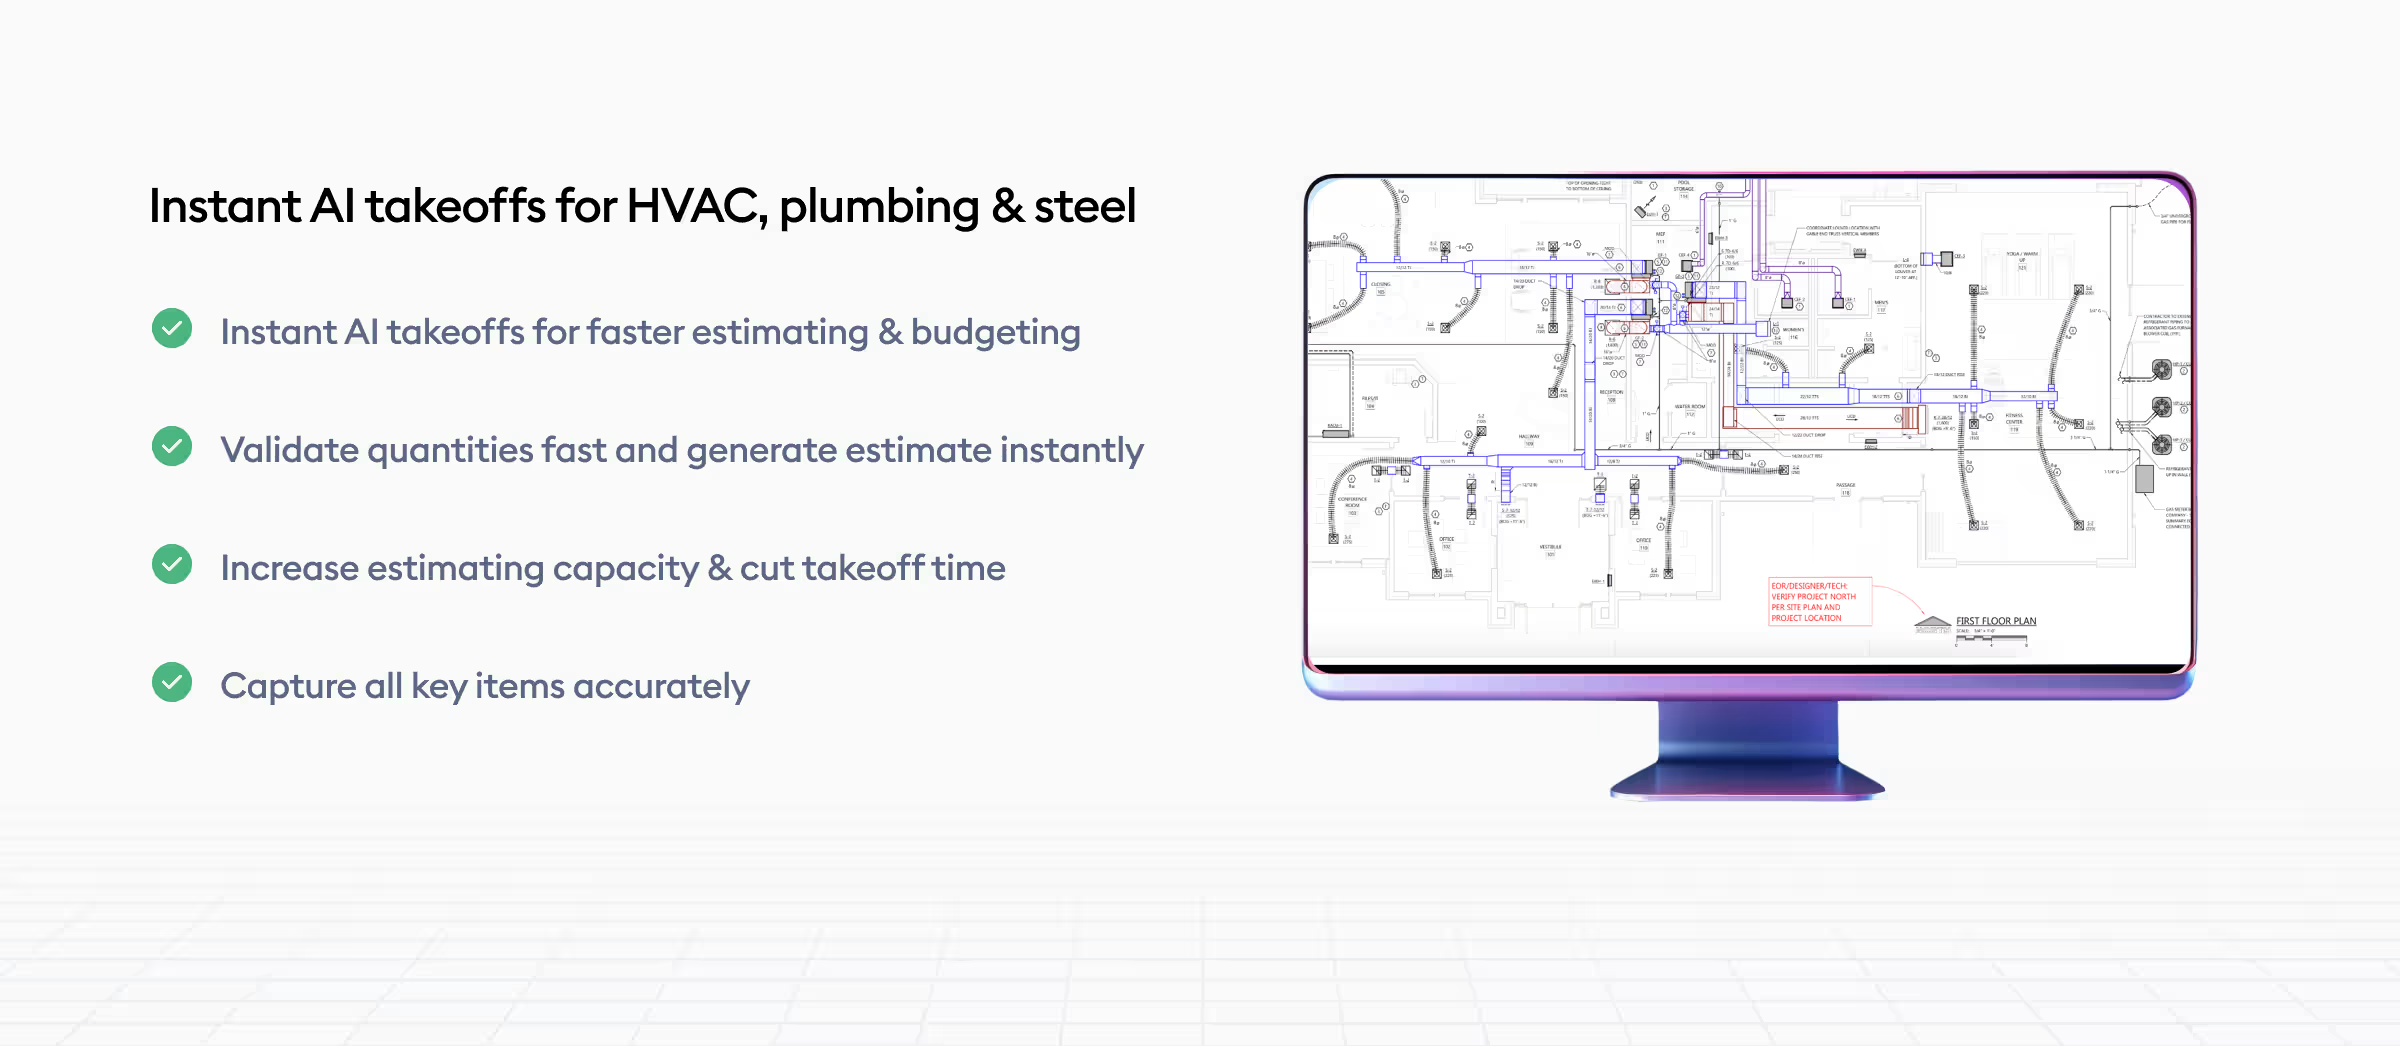
With Beam AI, estimators get the option to choose between two modes: Done For You (DFY), which produces bid-ready Excel outputs for 15+ trades, and Do It Yourself (DIY), which produces instant estimates for HVAC, Steel, and Plumbing trades.
Let’s take a look at how the workflow changes.
DIY: Self-serve takeoff on the Beam AI platform
Upload your plan set, and Beam AI auto-detects and calibrates scale against the plan's printed dimensions.
It measures square footage, linear footage, and counts across every sheet, with bid-ready outputs instantly. Estimators stay in control — reviewing, adjusting, and exporting quantities directly into their estimate — without doing the underlying string math by hand.
DFY: Fully managed takeoffs and estimates that are human-verified
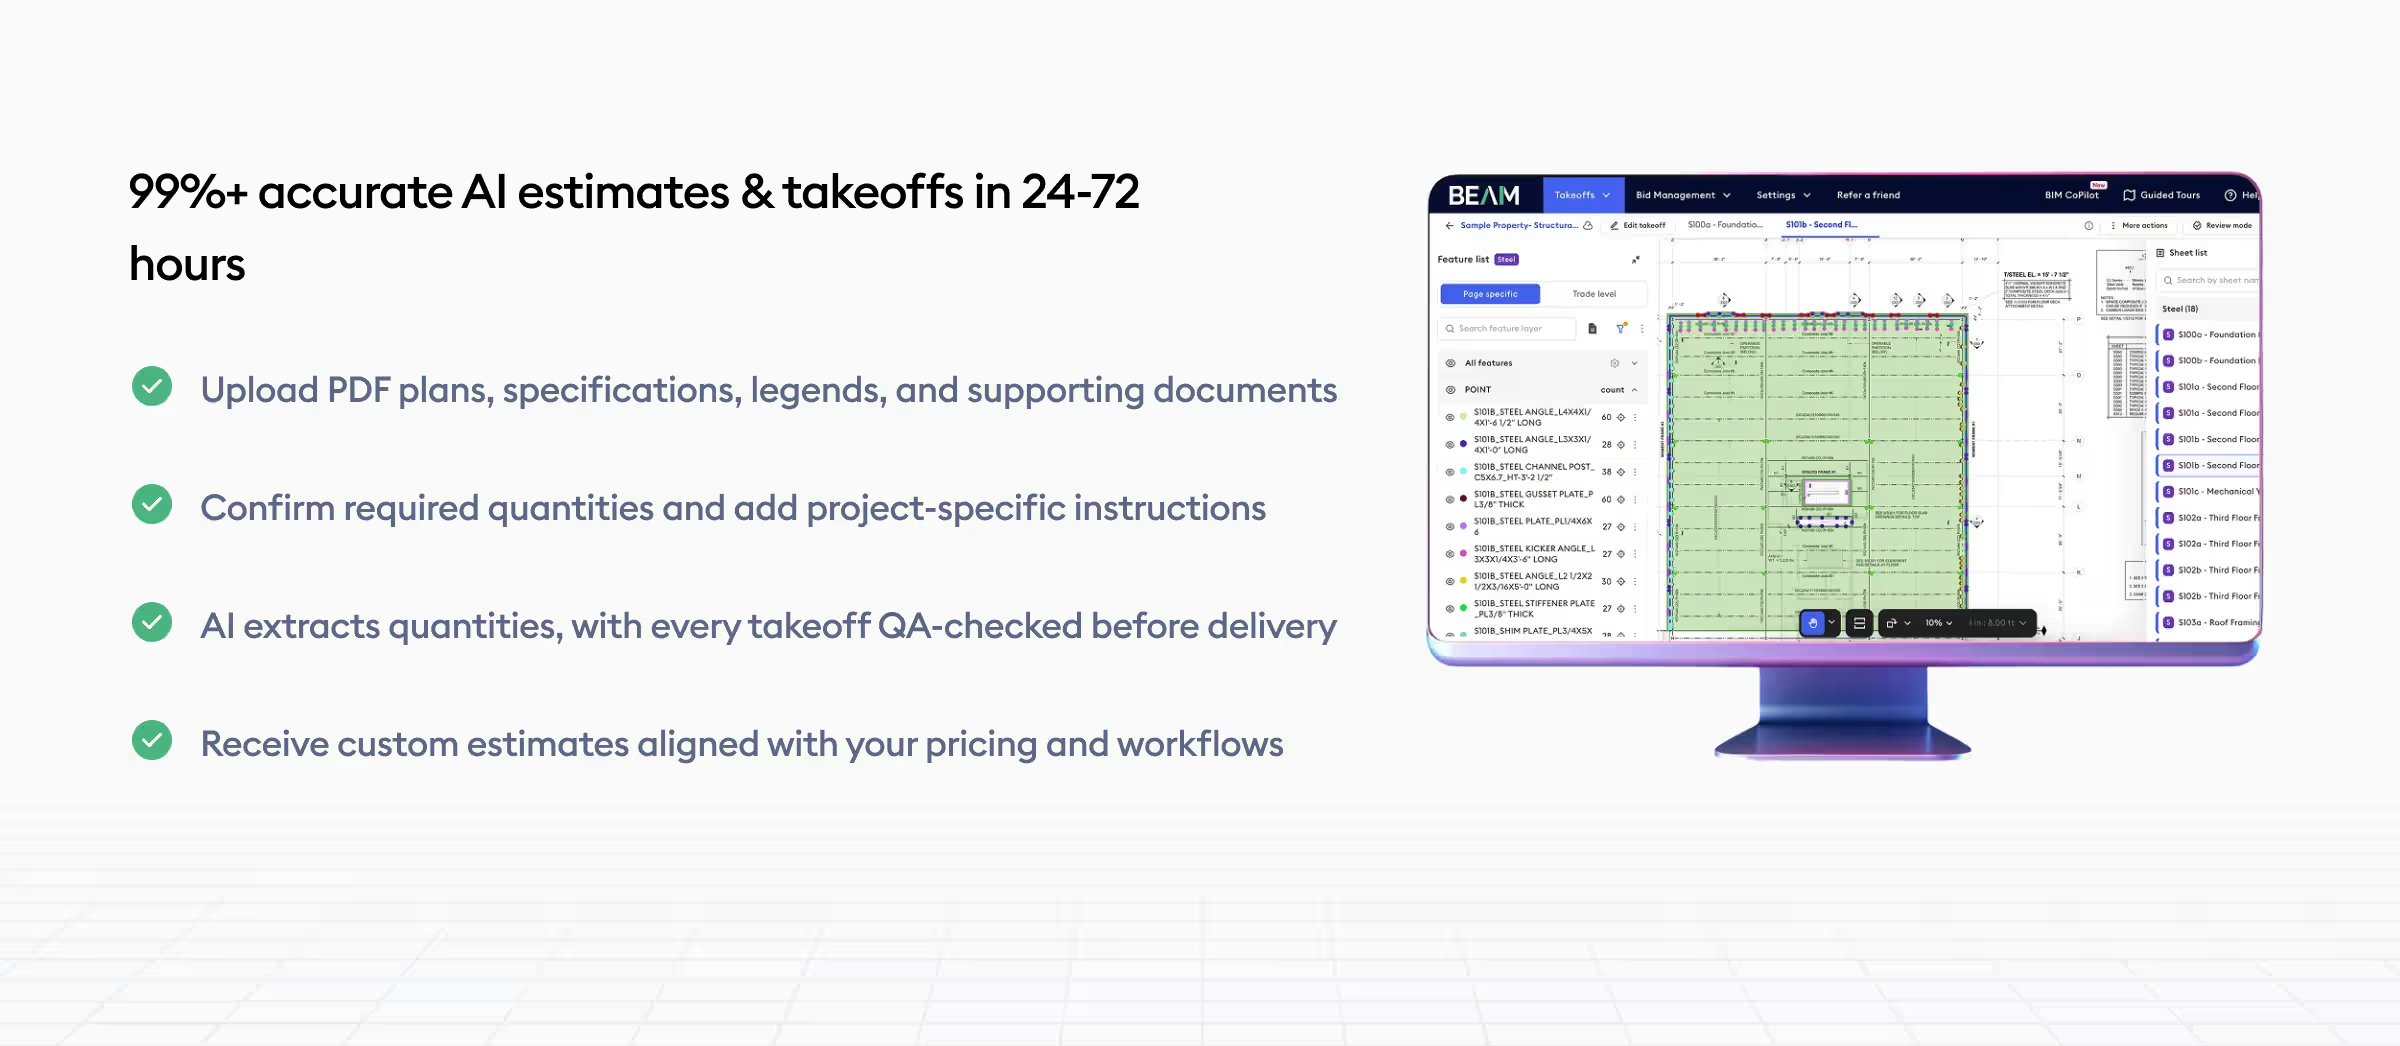
This one’s for teams that want quantities handled end to end. It combines Beam AI's AI-based quantity extraction with human QA checks to deliver bid-ready takeoffs and estimates across 15+ trades, turned around in 24 to 72 hours.
It's built for firms that need takeoff volume and accuracy without adding headcount to their estimating team.
With these two modes, Beam AI can support construction businesses as a plug-and-play full-time junior estimator: whether your team runs the platform directly or hands the plan set off entirely, the result is the same — faster, accurate takeoffs and the ability to bid more work without a proportional increase in estimating headcount.
With only a few hours spent reviewing takeoffs, Pilkington Construction’s team saved a week on estimating tasks per project, freeing up time for strategic planning like subcontractor coordination, client meetings, and refining estimates, while the business saw 1.5x growth.
The numbers prove why you should switch from manual measuring to fast, accurate AI-based takeoffs. Need more details? Read our blog outlining the pros and cons of digital versus manual takeoffs here.
Conclusion
The formula behind square footage never changes: length times width, section by section, added together.
What changes is how carefully you read the scale, which measurement convention you're using, and how many rooms you're doing this for. Below a handful of rooms, a ruler and a calculator are fine. Past that, the risk of a silent, compounding error only grows — which is exactly where Beam AI takes over the string math, whether you run it yourself or hand it off entirely.
Ready to skip the ruler? See how Beam AI calculates square footage from your plans automatically by booking a demo with us.




.jpg)